 Hytale
How to Create a Hytale Server (Complete Guide)
How to create a Hytale server: requirements, installation, ports, commands, mods and troubleshooting. A complete guide to play with your friends.
 Hytale
Try this guide on a real Hytale server, free for 12 hours
A Hytale server ready in minutes to put this tutorial into practice, then you decide.
- No credit card
- 12 hours from first launch
- One trial per person
To create a Hytale server you have two options: install the server software on your own PC (free, but you must open the UDP port on your router, keep the machine running and expose your IP), or rent a Hytale server delivered in seconds with a panel, anti-DDoS and backups. Either way, configuration goes through the config.json file and the /whitelist, /op and /uuid commands.
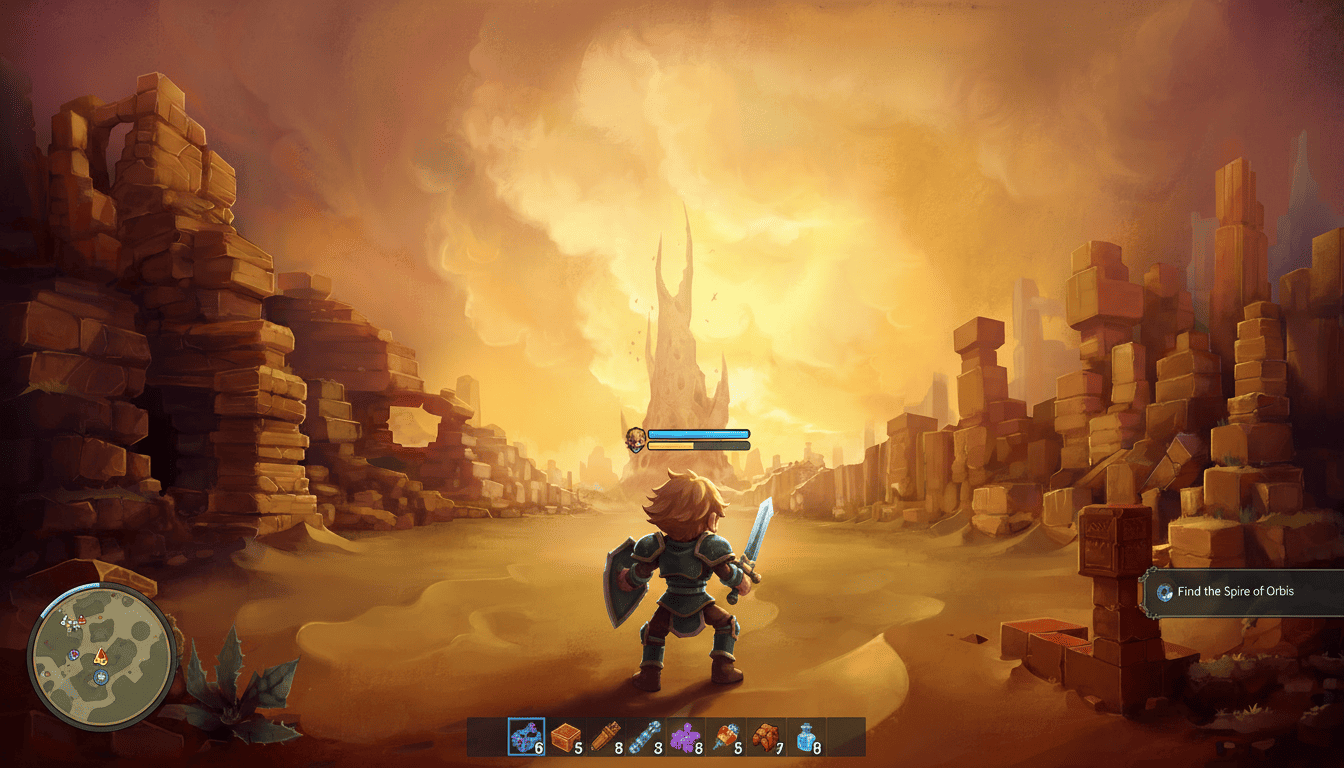
Hytale, the voxel game from Hypixel Studios, is built for multiplayer from early access onward: any player can run their own dedicated server, invite friends, set a password, manage a whitelist and add mods. What remains is choosing where that server runs and how to configure it properly.
This guide covers the whole journey: hardware requirements, hosting at home, renting a ready-to-play Hytale server, the essential commands, and how to fix the "failed to connect to server" error that blocks so many first connections.
📑 Table of contents
- Requirements
- Option 1: host it at home
- Option 2: rent a server (the easy way)
- Useful server commands
- Fixing "failed to connect to server"
🧰 Requirements
A Hytale server is a Java program that generates the world, simulates creatures and keeps players in sync. Its needs depend mostly on the number of simultaneous players and the mods you install.
| Resource | Small server with friends | Public or modded server |
|---|---|---|
| CPU | One fast core (Hytale mostly uses a single core) | High clock speed, 4 GHz and above |
| RAM | 4 to 8 GB dedicated to the server | 16 to 32 GB |
| Storage | SSD, a few dozen GB for the world and backups | NVMe SSD, 50 GB and more |
| Network | Stable connection, enough upload bandwidth for every player | High upload bandwidth, anti-DDoS protection |
| System | Windows or Linux with a recent Java version | Same, machine running around the clock |
The RAM listed is what the server itself needs. If you play on the same PC that hosts the server, the game takes its own share on top: leave headroom.
Two points come up again and again from administrators: CPU clock speed matters more than core count, and a mechanical hard drive causes stutter when zones load. An SSD is not a luxury.
🏠 Option 1: host it at home
This is the free option. It works for testing the game with two or three friends, as long as you accept a few technical constraints.
Step 1: install Java and the server
- Install a recent Java version on the machine that will host the server.
- Get the Hytale dedicated server software (it is distributed with the game, through the official launcher).
- Put it in its own folder and run it once: it generates its configuration files, including
config.jsonat the root.
Step 2: configure the server
Open config.json in a text editor. Among other things, you set:
"MOTD": the description shown in the server list;"Password": a password to restrict access (leave it empty for an open server);- the listening port, which you will then forward in your router.
Save, then restart the server to apply the changes.
Step 3: open the port on your router
Hytale uses the UDP protocol. In your router's interface, create a port forwarding (NAT) rule for the server port, in UDP, to the machine's local IP address. Allow the same port in the Windows or Linux firewall as well.
Without this forwarding rule, your friends will see "failed to connect to server" even though the server runs perfectly on your side. It is by far the number one cause of failed connections.
Step 4: share your address
Your friends connect using your public IP (visible on any "what is my IP" website) followed by the port. If your ISP changes your IP regularly, a dynamic DNS service gives you a stable name to share.
The limits of self-hosting
- The PC must stay on and connected whenever players are online.
- Your upload bandwidth is shared between all players: beyond a handful of people, latency climbs.
- Your personal IP address is exposed to anyone who joins, with no anti-DDoS protection.
- Every game update, every mod and every backup is handled by hand.
🌐 Option 2: rent a server (the easy way)
Renting a Hytale server from a hosting provider removes all of those constraints: the machine runs around the clock in a datacenter, the port is already open, the IP is protected against attacks and the server is delivered ready to play.
At Lordhosting, the whole process takes a few minutes:
- Choose a plan based on the size of your community (Kweebec, Kyros or Varyn, from 8 to 32 GB of RAM).
- Create your account and confirm the order: the server is deployed automatically and your credentials arrive by email.
- Open the management panel: start and stop, live console, file manager, backups and resource monitoring.
- Customize: MOTD and password in
config.json, mods in themodsfolder, operators and whitelist from the console. - Share the server address with your players.
The panel gives full access to the server files: you keep exactly the same configuration freedom as with self-hosting, minus the networking part and the PC that has to stay on.
Lordhosting servers are hosted in Marseille, France, with gaming anti-DDoS protection included and 7/7 support. Plans have no commitment: you can switch to a bigger one as your community grows.
💻 Useful server commands
These commands are used in the server console (or in-game once you are an operator). They are identical whether you self-host or rent.
| Command | Effect |
|---|---|
/op self | Grants you operator (administrator) rights |
/uuid <playername> | Shows the unique identifier of an online player |
/op add <UUID> | Promotes a player to operator using their UUID |
/op remove <UUID> | Removes operator rights |
/whitelist enable | Enables the whitelist: only listed players can join |
/whitelist add <playername> | Adds a player to the whitelist |
/whitelist remove <playername> | Removes a player from the whitelist |
/whitelist list | Shows the allowed players |
/whitelist status | Tells whether the whitelist is active |
/whitelist disable | Disables the whitelist |
/whitelist clear | Empties the whitelist |
A few pointers to go further:
- The operator list is stored in
ops.jsonat the server root. There is no command to list it: open the file from the file manager. - Whitelist names are case-sensitive: write them exactly as they appear in-game.
- The password and the MOTD are not set with a command but in
config.json, followed by a restart.
The detailed guides are here: manage operators, enable the whitelist, set a password and change the MOTD.
🔌 Fixing "failed to connect to server"
This message shows up on the player's side whenever the client cannot reach the server. Go through the causes in this order:
- The server is not started or is still loading. Watch the console: until world generation is complete, connections are refused. Wait for the message saying the server is ready.
- Wrong address or port. Check the IP (your public IP when self-hosting, the one shown in the panel with a provider) and the port, using the
address:portformat. - Closed port. When self-hosting, the UDP forwarding rule in the router and the firewall rule are mandatory. Test from an outside connection (a phone's mobile hotspot is enough), not from your own network.
- Version mismatch. During early access the game is updated often: a client newer than the server (or the other way round) cannot connect. Update both.
- Whitelist enabled. If
/whitelist statusreturns "enabled", add the player with/whitelist add playername. - Password required. A server protected with
"Password"refuses any connection without the right password: make sure the player types exactly the one set inconfig.json. - Missing or broken mod. An incompatible mod can keep the server from starting properly. Remove the last mod you added, restart, then read the console.
At Lordhosting, points 3 and 4 are handled for you on the server side: the port is open on delivery and the server update is done from the panel. If something still blocks, support answers 7 days a week.
⚙ Going further
- How to add mods to your Hytale server: find a mod on CurseForge, drop it into the mods folder and keep it updated.
- Manage Hytale operators: /op self, /uuid, /op add and the ops.json file.
- Enable and disable the whitelist: keep the server to your friends with a few commands.
- Set a password on your Hytale server: the Password key of config.json step by step.
- Change your server's MOTD: polish the description shown in the server list.
🎮 Launch your Hytale server in minutes
No desire to deal with ports, updates and a PC running around the clock? A Lordhosting Hytale server is delivered ready to play, with a panel, anti-DDoS, backups and support.
❓ Need help?
Unsure about your server configuration, or a connection that refuses to go through? Our team is here:
👉 Contact LordHosting support
Put this guide into practice on your own server
From €9.99/month. Online in a few minutes, anti-DDoS protection, 7/7 support, no commitment.
Frequently asked questions
Related guides
How to Enable and Disable Whitelist on Your Hytale Server
Enable and manage the whitelist on your Hytale server. Simple steps to restrict access to authorized players only.
How to Add Mods to Your Hytale Server
Complete guide to install and manage mods on your Hytale server. Learn how to download mods from CurseForge and install them easily on your hosted server.
How to Manage Operators (OP) on Your Hytale Server
Complete guide to add and manage operators on your Hytale server. Learn how to grant and remove administrator permissions.
How to Set a Password on Your Hytale Server
Learn how to secure your Hytale server by adding a password. Complete guide to protect access to your server and ensure only authorized players can connect.